There’s something magical about cooking outdoors. The sizzle of food on the grill, the smoky aroma, and the anticipation of that first bite make summer meals unforgettable. When it comes to grilling Grilled Potatoes , choosing the right potato variety can elevate your dish from good to extraordinary.
Not all potatoes are created equal. Some hold their shape better, while others offer a creamier texture. Red potatoes, for example, are waxy and maintain their structure, making them ideal for grilling. Yukon Golds, on the other hand, strike a perfect balance between waxy and starchy, delivering a fluffy interior with a crisp exterior1.
Whether you’re a grilling novice or a seasoned pro, this guide will walk you through selecting the best varieties, prepping them to perfection, and timing your cooking down to the minute. Get ready to impress your family and friends with a dish that’s crispy on the outside and creamy on the inside.
Key Takeaways
- Choosing the right potato variety ensures the perfect texture for grilling.
- Red potatoes and Yukon Golds are top picks for their ability to hold shape and deliver great flavor1.
- Precise timing is crucial to achieve a crispy exterior and tender interior.
- Parboiling certain varieties, like Russet potatoes, helps them cook evenly on the grill1.
- Seasoning and oil choices can enhance the flavor and prevent flare-ups.
Introduction to Grilled Potatoes
Outdoor cooking brings a unique charm to summer meals. The smoky flavor and crispy texture of grilled dishes are hard to replicate indoors. If you’re looking to elevate your culinary game, grilling is the way to go.
Why You Should Try Grilling Potatoes
Grilling offers a smoky, flavorful alternative to traditional cooking methods. Using foil packets simplifies cleanup and locks in moisture, ensuring your dish stays tender. Adding a drizzle of oil and a sprinkle of salt enhances the natural flavors while cooking over controlled heat.
For example, foil-wrapped potatoes on the grill cook at 350°F for 30-40 minutes until tender2. This method ensures even cooking and a delicious result every time.
The Summer Appeal of Outdoor Cooking
Summer is the perfect season to embrace outdoor cooking. The vibrant experience of grilling under the open sky adds excitement to meal prep. Plus, it’s a great way to enjoy the weather while creating something delicious.
Grilling also offers flexibility. You can experiment with different seasonings and techniques to suit your taste. Whether you’re hosting a barbecue or enjoying a quiet evening, grilling makes every meal special.
Selecting the Best Potato Varieties
The right Grilled Potatoes can make or break your dish. With over 5,000 varieties grown worldwide and 200 sold in the U.S., it’s essential to pick the one that suits your needs3. Whether you’re aiming for a crispy texture or a creamy interior, understanding the differences between russet, red, and yellow options is key.
Exploring Russet, Red, and Yellow Options
Russet potatoes are starchy, making them ideal for baking and frying. They’re the go-to choice for classic baked dishes and crispy fries4. Their dry, grainy texture absorbs flavors well, especially when paired with a drizzle of olive oil and a sprinkle of pepper.
Red potatoes are waxy and hold their shape, perfect for roasting or adding to salads. Their firm texture makes them a great side dish for summer meals3. Yellow potatoes, like Yukon Gold, strike a balance between waxy and starchy, offering a creamy interior and a crisp exterior when grilled4.
Choosing Potatoes for Texture and Flavor
Texture and flavor vary widely among potato varieties. Starchy types like russet are best for dishes requiring a fluffy interior. Waxy varieties, such as red and yellow, are better for dishes where shape retention is important3.
To elevate your dish, consider the seasoning. A mix of olive oil, pepper, and herbs can enhance the natural flavors of your chosen variety. Pairing these well-selected potatoes with grilled meats or vegetables can create a balanced and satisfying meal.
“The right potato variety can transform a simple dish into something extraordinary.”
When planning your next meal, think about the role your potatoes will play. Whether as a hearty side or the star of the dish, choosing the right variety ensures a delicious result every time.
How to Prepare Your Potatoes for Grilling
Preparation is the secret to achieving perfectly cooked potatoes on the grill. Whether you’re aiming for a crispy exterior or a tender interior, the steps you take before cooking matter. From washing to seasoning, each step ensures your dish turns out flavorful and evenly cooked.
Washing, Cutting, and Par-Boiling Tips
Start by thoroughly washing your potatoes to remove dirt. Leaving the skin on adds texture and nutrients. Cut them into even slices or wedges to ensure they cook uniformly. For thicker cuts, par-boiling is a game-changer. Boiling them for about 10 minutes jumpstarts the cooking process and ensures a tender interior5.
Soaking your slices in salted water can remove excess starch and enhance flavor. While this step isn’t mandatory, it’s a great way to add depth to your dish5. Once prepped, pat them dry to ensure they crisp up nicely on the grill.
Marinating and Seasoning Basics
Marinating your potatoes can elevate their flavor. Use a mix of olive oil, garlic, and summer herbs like rosemary or thyme. This not only adds taste but also helps prevent sticking on the grill. For a simple yet effective seasoning, sprinkle with salt, pepper, and a dash of paprika.
Here’s a quick guide to seasoning ratios for four potatoes:
| Ingredient | Amount |
|---|---|
| Olive Oil | 4 tablespoons |
| Salt | 1 teaspoon |
| Pepper | ½ teaspoon |
| Paprika | 1 teaspoon |
Proper preparation sets the stage for a superior grilling experience. With these tips, your potatoes will be ready to shine on the grill.
Setting Up Your Grill for Success
Mastering your grill setup is the key to achieving perfectly cooked dishes every time. Whether you’re a beginner or a seasoned griller, understanding the basics ensures your food turns out just right. Let’s dive into the essentials of preheating, seasoning, and testing for doneness.

Understanding Grill Temperature and Heat Settings
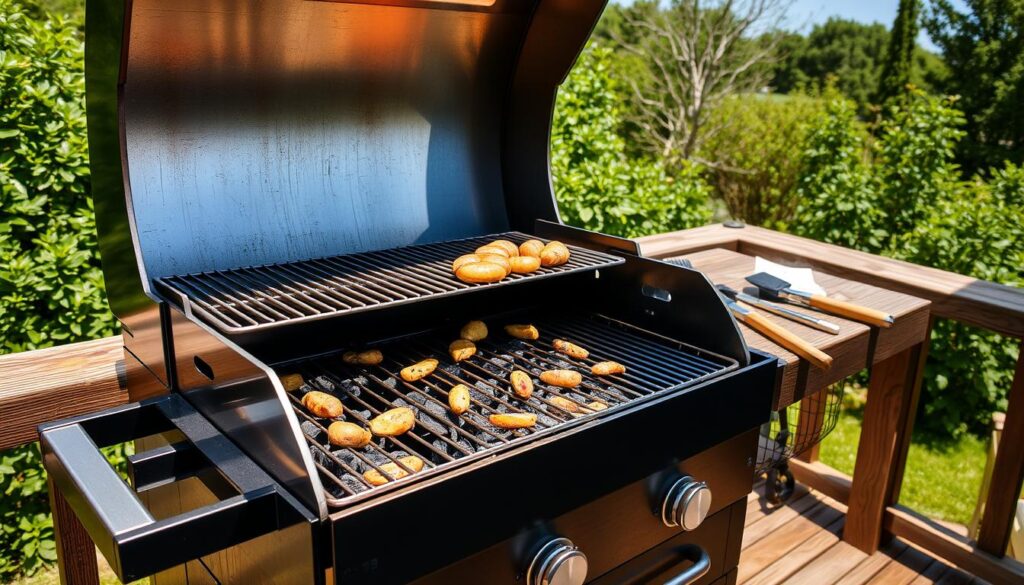
Preheating your grill is the first step to success. Set it to medium-high heat and let it warm up for about 15 minutes. This helps loosen food particles and season the grates6. Using an infrared thermometer can help you check for hot spots, ensuring even heat distribution7.
For gas grills, test for leaks with a 1:1 mixture of soap and water. Apply it to the connections and look for bubbles6. This simple step ensures safety and prevents accidents during cooking.
Using Foil Packets for Controlled Cooking
If direct contact isn’t possible, foil packets are a great alternative. They lock in moisture and prevent flare-ups. Simply wrap your seasoned slices in foil and place them on the grill. This method works well for delicate items or when you want to infuse flavors like garlic and herbs6.
Seasoning with Precision
Accurate seasoning is crucial. Use a teaspoon to measure ingredients like salt, pepper, and garlic. This ensures balanced flavors without overpowering your dish. A simple mix of olive oil, salt, and pepper can elevate the taste of your grilled creations8.
Testing for Doneness
To check if your food is ready, use a fork. Insert it into the thickest part of the item. If it slides in easily, your dish is done. This method works especially well for ensuring even cooking8.
By following these steps, you’ll set up your grill for a flawless cooking session. From preheating to testing, every detail matters for achieving that perfect result.
Grilled Potatoes: Cooking Techniques That Work
Achieving the perfect texture for your dish starts with mastering the right cooking techniques. Whether you’re grilling directly or using foil packets, each method has its advantages. Timing and proper seasoning also play a crucial role in ensuring your dish turns out tender inside and crispy outside.
Direct Grilling vs. Foil Packet Methods
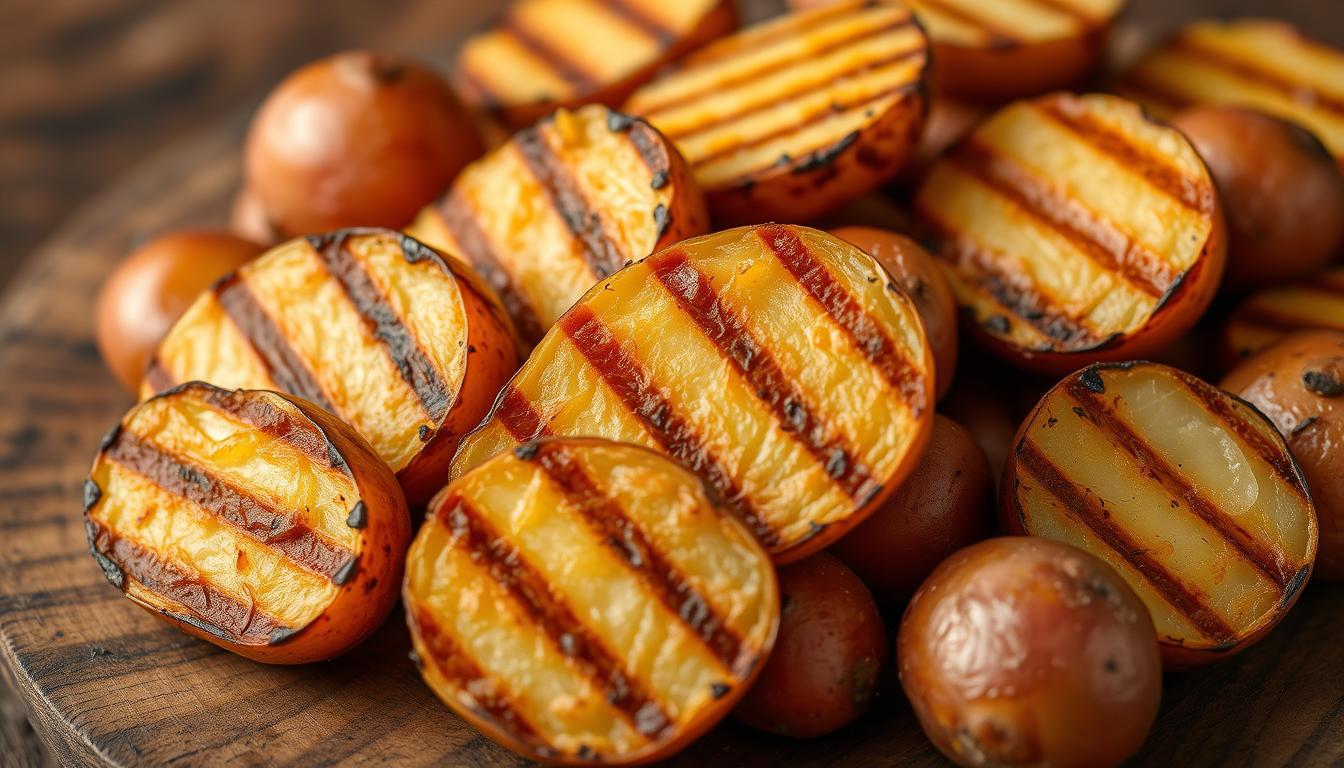
Direct grilling gives your dish a smoky flavor and a crispy exterior. It works best for thicker slices or wedges, especially when using waxy varieties like Yukon Golds9. However, it requires constant attention to prevent burning.
Foil packets, on the other hand, lock in moisture and prevent flare-ups. This method is ideal for delicate items or when you want to infuse flavors like garlic and herbs9. It’s also a great option for beginners who want to avoid overcooking.
Timing Your Grilling for Perfect Crispiness
Timing is everything when it comes to grilling. For direct grilling, cook your slices at medium-high heat (425-450°F) for about 10 minutes on each side10. Par-boiling thicker cuts beforehand ensures they cook evenly and stay tender inside9.
If you’re using foil packets, reduce the heat slightly and extend the cooking time to 30-40 minutes. This method allows the flavors to meld while keeping the dish moist9.
Here’s a quick guide to cooking times and methods:
| Method | Temperature | Time |
|---|---|---|
| Direct Grilling | 425-450°F | 20 minutes |
| Foil Packets | 350°F | 30-40 minutes |
When outdoor grilling isn’t an option, the oven can be a great alternative. Preheat it to 400°F and bake your seasoned slices for 25-30 minutes. This method mimics the crispy texture of grilling while keeping the process simple9.
Proper seasoning enhances the flavor throughout the cooking process. A mix of olive oil, salt, pepper, and herbs like rosemary or thyme works wonders. For a richer taste, try a 1:3 ratio of butter to olive oil10.
By mastering these techniques, you’ll achieve a dish that’s crispy on the outside and tender on the inside. Whether you’re grilling directly, using foil packets, or opting for the oven, these tips ensure delicious results every time.
Seasoning and Flavoring Your Grilled Potatoes
The secret to unforgettable flavor lies in how you season your dish. Whether you’re a beginner or a seasoned cook, the right blend of herbs, spices, and oils can transform your meal. Let’s explore the essentials for creating a dish that’s bursting with flavor.
Herbs, Spices, and Olive Oil Essentials
Start with a base of olive oil, which helps lock in moisture and prevents sticking. For every 2 pounds of small red or yellow potatoes, use 2 tablespoons of olive oil11. Add a mix of fresh herbs like rosemary, thyme, and parsley for a fragrant touch. A pinch of smoked paprika can also elevate the flavor profile11.
For a balanced seasoning, combine 1 teaspoon of salt, ¾ teaspoon of oregano, and a dash of nutmeg12. These ingredients work together to enhance the natural taste of your dish without overpowering it. Experiment with garlic powder or chili flakes for a bolder flavor.
Marinating for Maximum Flavor
Marinating your slices before cooking ensures the flavors penetrate deeply. Toss them in a mixture of olive oil, garlic, and herbs, then let them sit for at least 15 minutes. This step is especially useful when using a foil packet, as it allows the flavors to meld together11.
If you’re short on time, a quick toss with olive oil and spices right before grilling can still deliver great results. Just make sure to coat them evenly for consistent flavor.
Using Foil Packets for Enhanced Seasoning
Foil packets are a game-changer for infusing flavor. Wrap your seasoned slices in heavy-duty foil and grill them at 400°F for 20 minutes13. This method locks in moisture and ensures even cooking, making it perfect for beginners or those cooking delicate ingredients.
For added depth, place a sprig of rosemary or a clove of garlic inside the packet. The enclosed space allows the flavors to intensify, creating a dish that’s rich and aromatic.
Storing and Repurposing Leftovers
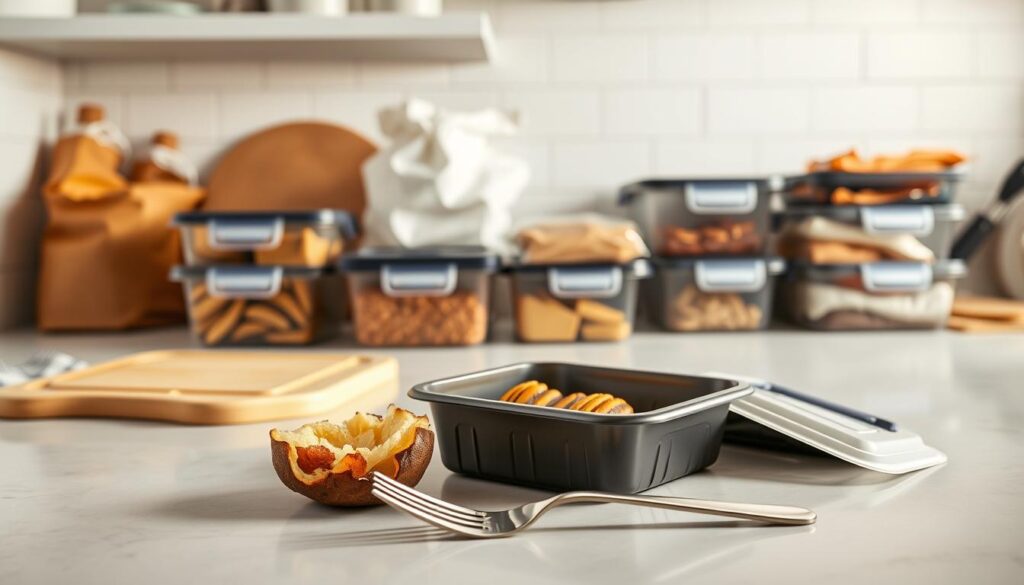
If you have leftover slices, store them in an airtight container in the refrigerator for up to 3 days11. Reheat them in the oven or on the stovetop for a quick and tasty side dish. You can also chop them up and add them to salads or breakfast hash for a creative twist.
Balancing your seasoning is key to bringing out the natural taste of your dish. With these tips, you’ll create a meal that’s flavorful, versatile, and sure to impress.
Creative Serving Suggestions and Pairing Ideas
Elevate your meal with creative serving ideas that bring out the best in your dish. Whether you’re hosting a summer barbecue or enjoying a cozy dinner, the right pairings can transform your meal into a culinary masterpiece. Let’s explore some innovative ways to serve and complement your dish.
Side Dishes to Complement Your Dish
Pair your dish with fresh, vibrant sides to balance its smoky flavors. A crisp summer salad or grilled vegetables adds a refreshing contrast. For a heartier option, try roasted corn or a creamy coleslaw. These sides not only enhance the taste but also add color and texture to your plate14.
Using aluminum foil in the kitchen can simplify the cooking process. Wrap your sides in foil to keep them warm and infuse flavors. This method is especially useful for grilled vegetables or corn, ensuring they stay tender and flavorful until serving15.
Pairing Ideas with Proteins
Create a well-rounded meal by pairing your dish with a protein. Juicy burgers, grilled chicken, or tofu are excellent choices. These proteins complement the smoky flavors and add variety to your plate. For a quick and easy option, try pre-marinated chicken or pre-formed burger patties14.
Here’s a quick guide to pairing your dish with proteins:
| Protein | Serving Suggestion |
|---|---|
| Chicken | Grilled with lemon and herbs |
| Burgers | Topped with cheese and avocado |
| Tofu | Marinated in soy sauce and garlic |
Experiment with garnishes and presentation styles to add visual appeal. Sprinkle fresh herbs or a dash of paprika for a pop of color. Arrange your dish and sides on a wooden board or rustic platter for a restaurant-quality feel15.
By incorporating these creative serving suggestions, you’ll elevate your meal and impress your guests. Whether you’re using aluminum foil for convenience or pairing with a flavorful protein, these tips ensure a memorable dining experience.
Storage, Reheating, and Leftover Tips
Keeping your dish fresh and flavorful after cooking is just as important as the prep itself. Proper storage and reheating techniques ensure your meal stays delicious, whether you’re enjoying it the next day or repurposing it into a new creation.
Best Practices for Keeping Your Dish Fresh
To maintain freshness, store your dish in an airtight container. This prevents moisture loss and keeps the texture intact. For longer storage, freeze your slices at 0°F (-18°C) or below, ensuring proper air circulation in the freezer16.
If you’re freezing, use a blast-freezing technique to lock in flavor and nutrients. This method is especially effective for preserving the quality of your dish16.
Reheating for Perfect Texture
Reheating your dish correctly is key to preserving its texture and taste. For the oven, preheat to 400°F (200°C) and cook for 10-15 minutes, flipping halfway through16. This ensures even heating and a crispy exterior.
For a quicker option, use a skillet on medium heat. Cook for 5-10 minutes, flipping occasionally for even crispiness17. Adding a sprinkle of garlic powder during reheating can enhance the flavor.
Creative Uses for Leftovers
Leftovers can be transformed into new dishes with a little creativity. Chop them up and add to a breakfast hash or toss into a refreshing salad. These ideas breathe new life into your meal while minimizing waste.
Here’s a quick guide to reheating methods:
| Method | Temperature | Time |
|---|---|---|
| Oven | 400°F (200°C) | 10-15 minutes |
| Skillet | Medium Heat | 5-10 minutes |
| Air Fryer | 375°F (190°C) | 8-12 minutes |
By following these tips, you’ll keep your dish fresh, flavorful, and ready for any meal. Whether you’re storing, reheating, or repurposing, these practices ensure a consistently delicious experience.

Conclusion
Mastering the art of outdoor cooking can transform your summer meals into unforgettable experiences. By choosing the right variety, prepping with care, and using techniques like direct grilling or potato foil packets, you’ll achieve the perfect balance of crispy and tender textures18.
Experimenting with ingredients like fat, cheese, and fresh herbs adds depth and flavor to your dish. Whether you’re hosting a barbecue or enjoying a quiet evening, these methods ensure a delicious result every time.
Revisit this guide whenever you need inspiration to elevate your outdoor cooking game. With these tips, your meals will shine as the centerpiece of any gathering. Now, fire up the grill and enjoy the magic of summer cooking!

