
Imagine a dish that combines creamy comfort with a satisfying crunch, all while being gluten-free. This cheesy kale orzo recipe does just that, offering a flavorful twist on a classic favorite. Perfect for busy weeknights, it’s ready in just 40 minutes and serves 4-6 people1.
Using a risotto-style method, this recipe achieves a rich, velvety texture without the need for heavy cream. The vibrant green kale adds a fresh, nutritious element, while the toasted breadcrumbs provide a delightful crunch. It’s a dish that’s as visually appealing as it is delicious.
Whether you’re catering to gluten-free or vegetarian preferences, this recipe is versatile and easy to customize. With just 10 minutes of prep time, it’s ideal for anyone looking to whip up a quick, healthy meal1.
Key Takeaways
- Gluten-free and vegetarian-friendly dish.
- Ready in 40 minutes with minimal prep time.
- Uses a risotto-style method for a creamy texture.
- Perfect for busy weeknights or meal prep.
- Customizable with your favorite ingredients.
Introduction to Cheesy Kale Orzo
Discover a gluten-free dish that blends creamy textures with fresh, vibrant flavors. This recipe is a must-try for anyone seeking a healthy yet indulgent meal. It’s perfect for busy weeknights or when you want something quick and satisfying.
What Makes This Dish Special?
This dish stands out for its unique combination of ingredients and cooking techniques. The risotto-style method ensures a creamy texture without heavy cream. Fresh kale adds a nutritious punch, while toasted breadcrumbs provide a delightful crunch.
The use of parmesan cheese enhances the flavor, making it rich and savory. Lemon, garlic, and fresh parsley add a refreshing twist, creating a harmonious balance of tastes.
Embracing a Gluten-Free Lifestyle
Going gluten-free doesn’t mean sacrificing flavor. This recipe proves that you can enjoy a delicious meal while adhering to dietary restrictions. It’s a great way to explore new ingredients and cooking methods.
With gluten-free orzo, you can still enjoy the comfort of pasta without the gluten. This dish is versatile and can be customized to suit your preferences.
| Nutrient | Per Serving |
|---|---|
| Calories | 448 kcal |
| Protein | 24 g |
| Carbohydrates | 27 g |
| Fat | 28 g |
This recipe is not only delicious but also packed with essential nutrients. It’s a wholesome meal that fits perfectly into a healthy lifestyle2.
Essential Ingredients and Their Roles
The foundation of any great gluten-free recipe lies in its carefully chosen components. Each ingredient in this dish plays a specific role, contributing to its rich flavor, creamy texture, and nutritional value. Let’s break down the key elements and their importance.
Key Components: Orzo, Kale, and Cheese
Orzo is the star of this dish, providing a starchy base that helps create a creamy sauce. Its small, rice-like shape absorbs flavors beautifully, making it ideal for a risotto-style cooking method. For a gluten-free version, ensure you use certified gluten-free orzo or substitute it with rice or quinoa3.
Kale adds a vibrant green color and a nutritional boost. Its slightly bitter flavor balances the richness of the cheese, while its texture holds up well during cooking. Remove the stems and chop the leaves finely for the best results3.
Cheese, particularly parmesan, binds the sauce and adds a savory depth. Its umami flavor enhances the dish, while its creamy texture melds seamlessly with the orzo. For a dairy-free option, try nutritional yeast or a plant-based parmesan alternative4.
Ingredient Substitutions for Gluten-Free Options
If you’re avoiding gluten, you can still enjoy this dish with a few simple swaps. Use gluten-free orzo or substitute it with rice, quinoa, or even cauliflower rice. For the breadcrumbs, opt for gluten-free panko or crushed gluten-free crackers3.
Complementary ingredients like garlic, olive oil, and lemon zest brighten the flavor profile. Garlic adds a pungent aroma, while olive oil provides a smooth base. Lemon zest introduces a refreshing citrus note, balancing the richness of the cheese4.
Each ingredient’s freshness and quality are vital to the final dish. Whether you stick to the original recipe or customize it, these components work together to create a satisfying, gluten-free meal.
Culinary Techniques for Creamy Orzo
Mastering the risotto-style method can transform your cooking, especially when creating a creamy, flavorful dish. This technique allows the orzo to absorb liquid gradually, resulting in a rich, velvety texture. It’s a simple yet effective way to elevate your meals.
Risotto-Style Cooking: Absorbing Flavors and Texture
Start by toasting the orzo in a skillet with butter or olive oil. This step enhances its nutty flavor and prepares it to absorb liquids effectively. Add minced garlic for an aromatic base that complements the dish5.
Next, pour in a combination of broth, milk, and water. Stir continuously to release the starch from the orzo, which thickens the sauce. This process creates a creamy consistency without the need for heavy cream6.
- Stirring is key: It ensures even heat distribution and prevents the orzo from sticking to the pan.
- Control the heat: Medium heat allows the liquid to absorb gradually, preventing overcooking.
- Add liquid in stages: This helps the orzo cook evenly and develop a robust sauce.
Once the orzo is al dente, incorporate your greens and cheese. The residual heat will wilt the greens and melt the cheese, blending all the flavors harmoniously7.
This method not only creates a delicious dish but also allows you to control the texture and flavor. It’s perfect for those who enjoy a hands-on cooking experience.
Step-by-Step Preparation Process
Crafting a gluten-free pasta dish doesn’t have to be complicated—this step-by-step guide simplifies the process for you. From toasting breadcrumbs to achieving a creamy texture, every detail is covered to ensure your meal turns out perfectly.
Toasting Breadcrumbs and Developing a Flavor Base
Start by heating a tablespoon of butter in a Dutch oven over medium heat. Add the breadcrumbs and toast them until golden and fragrant, about 2-3 minutes. This step adds a delightful crunch to your dish8.
Next, build the flavor base by sautéing minced garlic for 30 seconds. The aroma will enhance the overall taste of the dish. Add a pinch of red pepper for a subtle kick8.

Cooking the Orzo for a Perfect Creamy Consistency
Add 1 ½ cups of gluten-free orzo to the pot and toast it for 1-2 minutes. This step enhances its nutty flavor. Gradually pour in 3 ½ cups of vegetable or chicken stock, stirring continuously to release the starch8.
Simmer the orzo for about 18 minutes, adding liquid as needed. The risotto-style method ensures a creamy texture without heavy cream. Stir occasionally to prevent sticking8.
Incorporating Kale and Melting Parmesan
Once the orzo is al dente, fold in chopped kale and let it wilt for 2-3 minutes. The vibrant greens add freshness and nutrition to the dish. Finally, stir in ¼ cup of grated parmesan cheese until melted and creamy8.
Finish with a sprinkle of lemon zest and parsley for a refreshing twist. Serve immediately, topped with the toasted breadcrumbs for added texture8.
Cooking Tips and Best Practices
Perfecting the art of cooking gluten-free pasta requires attention to detail and a few expert tricks. Managing heat and consistency is key to achieving a dish that’s neither too thick nor too thin. With these tips, you’ll create a meal that’s flavorful and perfectly textured every time.
Controlling Heat for Optimal Results
Start by cooking your orzo over medium heat. This ensures even cooking and prevents the pasta from sticking to the pot. Adjust the heat as needed—too high, and the liquid evaporates too quickly; too low, and the pasta won’t absorb the broth properly9.
Stir frequently to distribute the heat evenly. This also helps release the starch from the orzo, creating a creamy sauce without heavy cream. If the mixture starts to dry out, add a splash of water or broth gradually to maintain the desired consistency9.
Achieving the Perfect Texture
Check the texture of your pasta periodically. The goal is to achieve an al dente bite—firm but not crunchy. This usually takes about 7-10 minutes, depending on the cooking method10.
- Monitor liquid absorption: Add liquid in stages to avoid overcooking.
- Test for doneness: Taste a piece of pasta to ensure it’s cooked to your liking.
- Adjust seasoning: Add salt and pepper as needed to enhance the flavor.
By following these steps, you’ll avoid common pitfalls like unevenly absorbed liquid or mushy pasta. With practice, you’ll master the art of cooking gluten-free pasta to perfection.
Flavor Enhancements and Recipe Variations
Transform your gluten-free pasta dish with creative twists and seasonal ingredients. This recipe is highly adaptable, allowing you to experiment with flavors while keeping it creamy and satisfying. Whether you’re looking to add a kick of heat or incorporate fresh greens, these variations will elevate your meal.

Creative Additions: Herbs, Spices, and Extra Cheeses
Enhance the flavor profile by adding fresh herbs like basil, thyme, or rosemary. These not only bring a burst of aroma but also increase the dish’s antioxidant properties11. For a touch of heat, sprinkle in red pepper flakes or a pinch of cayenne.
Extra cheeses like feta or goat cheese can add a tangy twist. If you prefer a richer taste, try blending in a creamy cheese sauce. This approach increases the dish’s indulgence while maintaining its gluten-free integrity11.
Seasonal Variations to Suit Your Taste
Adapt the recipe to the seasons by swapping out ingredients. In the fall, try adding roasted butternut squash or pumpkin for a warm, hearty flavor. During spring, incorporate fresh asparagus or peas for a lighter, vibrant touch12.
For a brunch-quality experience, top your dish with a poached egg. The runny yolk adds a luxurious texture that complements the creamy pasta. This variation is perfect for weekend meals or special occasions13.
Experiment with different greens like spinach or Swiss chard to keep the dish fresh and exciting. These substitutions not only add variety but also boost the nutritional value11.
Remember, these modifications maintain the core creamy, cheesy, and gluten-free concept of the dish. Feel free to mix and match ingredients to create a version that suits your taste perfectly.
Cheesy Kale Orzo: How to Make It Gluten-Free
This gluten-free pasta dish combines creamy richness with a satisfying crunch, making it a crowd-pleaser. It’s a versatile recipe that works as a hearty main course or a flavorful side dish. The balance of textures and flavors ensures every bite is memorable.
Recipe Overview and Expected Texture
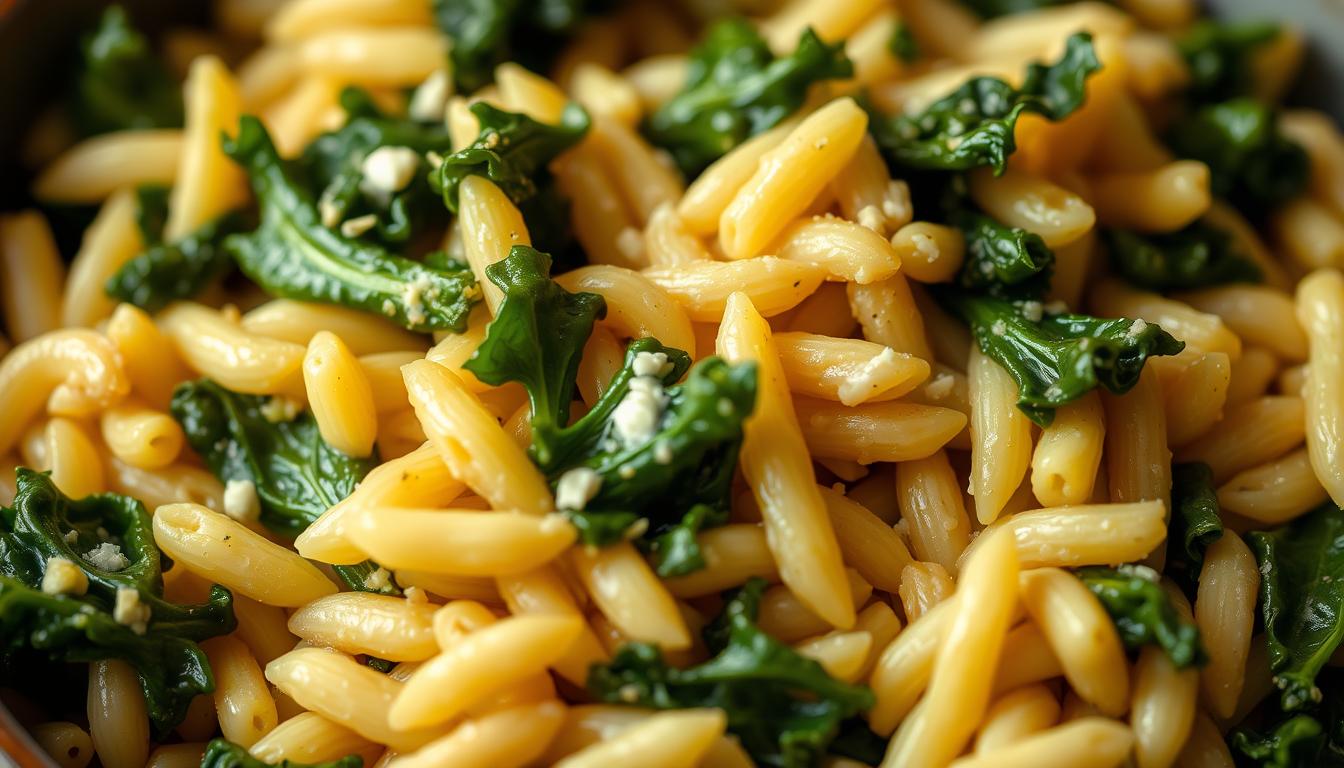
The dish starts with gluten-free orzo, cooked using a risotto-style method to achieve a creamy consistency. Fresh kale adds a nutritious punch, while toasted breadcrumbs provide a delightful crunch. The result is a harmonious blend of creamy and crispy textures14.
To build the flavor base, garlic and olive oil are sautéed, creating an aromatic foundation. The orzo is then toasted and simmered in broth, absorbing the liquid gradually. This technique ensures a rich, velvety sauce without heavy cream15.
Once the orzo is al dente, kale is folded in, wilting gently in the residual heat. Parmesan cheese is stirred in for a savory finish, while lemon zest adds a refreshing citrus note. The dish is topped with toasted breadcrumbs for added texture16.
Gluten-Free Adaptations
For those avoiding gluten, this recipe offers flexibility. Substitute gluten-free orzo with rice or quinoa for a similar texture. Use gluten-free breadcrumbs or crushed crackers for the topping. These swaps maintain the dish’s integrity while catering to dietary needs14.
Here’s a quick look at the nutritional profile per serving:
| Nutrient | Amount |
|---|---|
| Calories | 394 kcal |
| Protein | 19 g |
| Carbohydrates | 63 g |
| Fat | 8 g |
This dish is not only delicious but also packed with essential nutrients, making it a wholesome choice for any meal14.
“The combination of creamy orzo and crunchy breadcrumbs creates a texture that’s simply irresistible.”
Whether you’re serving it as a main dish or a side, this recipe is sure to impress. Its creamy texture, balanced flavors, and gluten-free adaptability make it a standout choice for any occasion.
Conclusion
This gluten-free pasta recipe is a perfect blend of simplicity and flavor, making it a go-to for any meal. By using a risotto-style method, you achieve a creamy texture without heavy cream, while fresh greens and toasted breadcrumbs add a delightful crunch17.
The dish’s versatility allows you to customize it with seasonal ingredients or dietary preferences. Whether you’re cooking for a family dinner or meal prep, it’s ready in under 30 minutes18.
Try this recipe at home and share your experience. Did you add extra herbs or swap ingredients? Let us know how you made it your own. This dish bridges innovation with healthy, gluten-free eating, proving that delicious meals can be both simple and satisfying.