
Did you know that chia seeds contain 5 grams of protein per ounce, making them a powerhouse of plant-based nutrition1? These tiny seeds are also packed with omega-3 fatty acids and fiber, which support heart health and digestion1. With such impressive benefits, it’s no wonder chia pudding has become a go-to breakfast or snack for health-conscious individuals.
This recipe combines chia seeds with your favorite milk and a touch of natural sweeteners like maple syrup to create a creamy, satisfying treat. It’s perfect for busy mornings or as a guilt-free dessert. Plus, it’s incredibly easy to make—just follow five simple steps.
Chia puddinghas been a beloved recipe for over a decade, thanks to its nostalgic appeal and versatility. Whether you’re new to this dish or a long-time fan, you’ll love how effortlessly it fits into your routine.
Key Takeaways
-
- Chia seeds are rich in protein, omega-3s, and fiber, making them a nutritious choice1.
- This recipe requires only a few simple ingredients, including milk and natural sweeteners.
Chia pudding
- is quick to prepare and can be customized with various flavors.
- It’s a versatile dish that works as a breakfast, snack, or dessert.
- This recipe has been a favorite for over 10 years, combining health and convenience.
Introduction to Chia Pudding: 5 Simple
Ever wondered why chia seeds are a staple in healthy recipes? These tiny powerhouses are packed with protein, omega-3s, and fiber, making them a nutritious choice for any meal2. When combined with milk and a touch of natural sweeteners like maple syrup, they transform into a creamy, satisfying treat that’s perfect for breakfast or a snack.
What Makes Chia Pudding Special?
Chia seeds have a unique ability to absorb liquid and create a gelatinous texture. This makes them ideal for creating a pudding-like consistency without the need for cooking. The recipe is incredibly versatile, allowing you to customize it with your favorite flavors and toppings.
Using milk as the base not only adds creaminess but also boosts the nutritional profile. Natural sweeteners like maple syrup enhance the flavor without adding refined sugars. This combination makes the dish both delicious and wholesome2.
How This Recipe Simplifies Breakfast and Snack Prep
One of the best things about this recipe is its simplicity. With just 10 minutes of preparation time, you can have a nutritious meal ready to go2. The mixture needs to set in the fridge for at least 4 hours or overnight, making it perfect for meal prep.
Here’s why this recipe is a game-changer:
- Quick to prepare: No cooking required, just mix and set.
- Customizable: Swap ingredients to suit your taste.
- Portable: Easy to take on the go for busy days.
Whether you’re looking for a quick breakfast or a healthy snack, this recipe fits seamlessly into your routine. It’s a simple, time-saving solution that doesn’t compromise on flavor or nutrition.
Ingredients and Nutritional Benefits
Looking for a nutrient-packed recipe that’s both simple and versatile? The key lies in the ingredients. High-quality components not only enhance flavor but also maximize the dish’s nutritional value. Let’s dive into what makes this recipe a healthy favorite.
Essential Ingredients and Substitutions
The base of this recipe includes chia seeds, almond milk, and a touch of natural sweeteners like maple syrup. These ingredients work together to create a creamy, satisfying texture. If almond milk isn’t your preference, you can easily swap it for coconut, oat, or even dairy milk1.
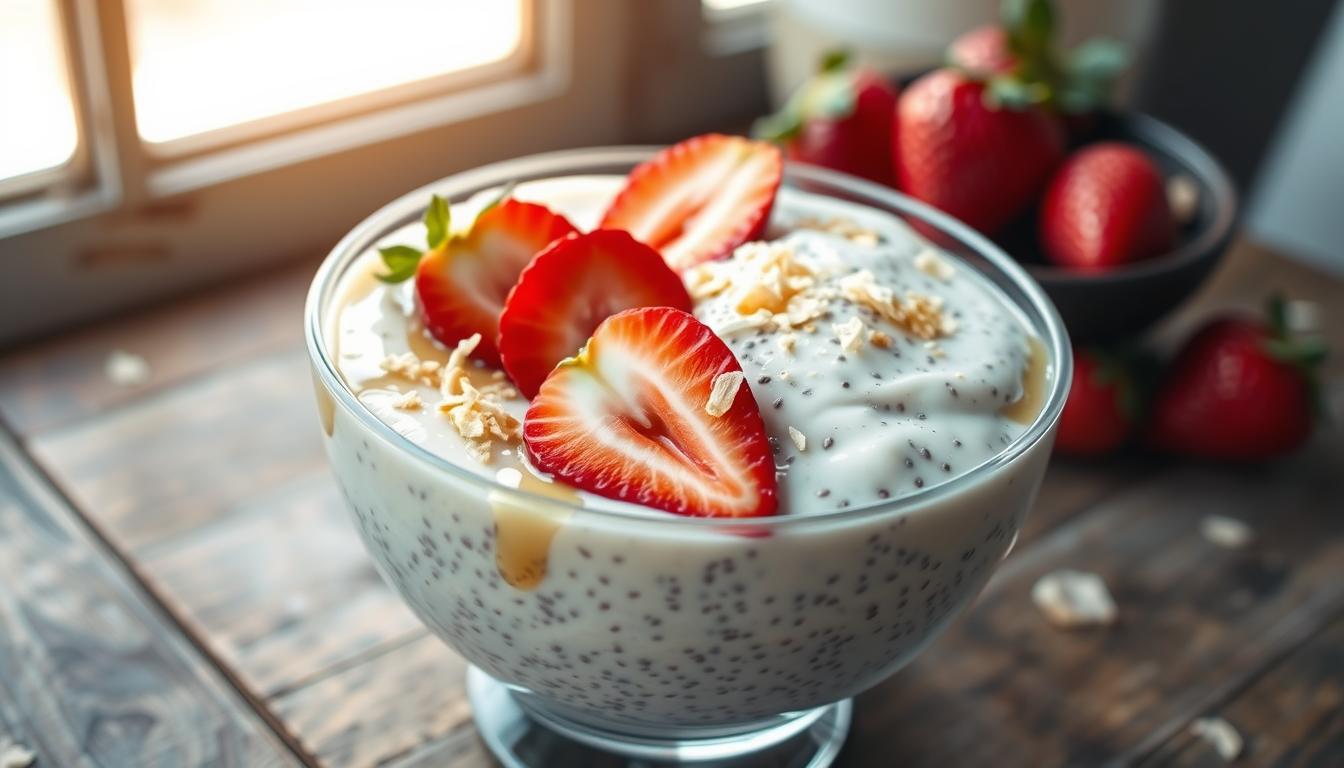
For sweetness, maple syrup is a popular choice, but honey or agave are excellent alternatives. Adding fresh fruit like berries or bananas not only boosts flavor but also adds a nutritional punch. Toppings such as granola or nuts provide a delightful crunch and extra nutrients1.
Understanding the Nutritional Boost
Chia seeds are a powerhouse of nutrition, offering high levels of fiber, protein, and omega-3 fatty acids. Just one serving can help you meet a significant portion of your daily fiber needs3. The protein content supports muscle repair, while omega-3s promote heart health1.
Using almond milk keeps the recipe low in calories while adding a creamy texture. Fresh fruit and toppings like nuts or seeds further enhance the dish’s nutritional profile. Storing the mixture in the fridge overnight not only sets the texture but also preserves its nutrients1.
This recipe is a perfect example of how simple ingredients can deliver a powerful nutritional boost. Whether you’re looking for a quick breakfast or a healthy snack, it’s a versatile option that fits seamlessly into your routine.
Step-by-Step Instructions for Your Chia Pudding
Ready to whip up a nutritious treat in just minutes? Follow these simple steps to create a creamy, satisfying dish that’s perfect for breakfast or a snack. With minimal effort, you’ll have a healthy option ready to enjoy.
Mixing and Stirring Techniques
Start by combining 1/4 cup of chia seeds with 1 cup of almond milk in a bowl. Vigorously stir the mixture for about a minute to ensure the seeds are evenly distributed. This prevents clumping and helps achieve a smooth texture4.
Wait a few minutes, then stir again. This step is crucial because chia seeds absorb liquid quickly, expanding up to 12 times their weight4. Repeat this process until the mixture begins to thicken.

Setting Up for the Perfect Consistency
Once mixed, cover the bowl and let it sit in the fridge for at least 2 hours. For the best results, leave it overnight. This allows the seeds to fully absorb the liquid, creating a pudding-like consistency4.
Here’s a quick checklist to ensure success:
- Use the right ratio: 1 part chia seeds to 4 parts almond milk.
- Stir thoroughly: Avoid clumps by mixing well.
- Be patient: Let it set for the recommended time.
With these tips, you’ll have a delicious and nutritious breakfast ready in no time. Enjoy it as is or add your favorite toppings for extra flavor.
tomizing Your Chia Pudding
Want t
o make your breakfast or snack more exciting? The beauty of this dish lies in its versatility. With a few simple tweaks, you can transform it into a unique treat every time.
Flavor Boosters and Sweetener Options
Adding flavor boosters like cocoa powder or vanilla extract can elevate your dish. For a chocolate twist, mix in 1 tablespoon of cocoa powder per cup of milk5. Vanilla extract adds a smooth, aromatic touch—just a teaspoon will do.
Sweeteners like maple syrup, honey, or agave are excellent choices. Use 1-2 tablespoons per cup of milk, depending on your preference6. For a fruity twist, blend in berries or tropical fruits like mango and kiwi5.
Creative Topping Ideas for Variety
Toppings can turn your dish into a gourmet experience. Fresh fruit, granola, and chopped nuts are classic choices. Here’s a quick guide to get started:
| Topping | Quantity | Prep Time |
|---|---|---|
| Fresh Berries | 1/2 cup | 5 minutes |
| Granola | 1/4 cup | No prep |
| Chopped Nuts | 2 tablespoons | 2 minutes |
For a seasonal twist, try pumpkin puree or eggnog during the holidays5. These additions not only enhance flavor but also boost nutritional value.
“The key to a great dish is experimentation. Don’t be afraid to mix and match flavors to find your perfect combination.”
With these tips, you can create a dish that’s both nutritious and indulgent. Whether it’s a quick breakfast or a healthy snack, the possibilities are endless.
Perfecting Texture and Consistency
Achieving the perfect texture for your healthy treat is easier than you think. The key lies in proper mixing and the right ingredient ratios. A smooth, clump-free consistency ensures every bite is creamy and satisfying.
Tips for Avoiding Clumps
To prevent clumps, stir the mixture thoroughly after the initial setup. Wait a few minutes, then stir again to ensure even distribution. This step is crucial for a smooth texture7.
Here are some expert tips to help you get it right:
- Stir strategically: Mix well after the first few minutes in the fridge.
- Use the right ratios: 1 part chia seeds to 4 parts milk for a thick yet creamy texture8.
- Check for clumps: Break up any lumps during the setting process.
If your mixture is too thick, add a splash of milk. For a thinner consistency, let it sit longer in the fridge. These adjustments ensure the perfect balance for your day9.
Enhancing Flavor and Nutrition
Toppings like granola and chocolate not only add flavor but also boost the nutritional profile. Granola provides a crunchy texture, while chocolate adds a touch of indulgence. Both complement the dish’s protein-rich base7.
“The right toppings can transform a simple dish into a gourmet experience.”
Experiment with different combinations to find your favorite. Whether it’s a quick breakfast or a healthy dessert, these tips ensure a delightful treat every time.
Meal Prepping and Storage Strategies
Meal prepping can save you time and effort while keeping your meals fresh and flavorful. By preparing a large batch of your favorite recipe, you can enjoy it throughout the week with minimal daily effort. This approach not only simplifies your routine but also ensures you have a nutritious option ready whenever you need it10.

Refrigerator Storage and Portioning
For short-term storage, use clear mason jars or airtight containers. These containers highlight the layering of your recipe and toppings, making it visually appealing. Store your prepped meals in the fridge for up to 5 days without losing quality11.
Here’s how to portion your meals effectively:
- Use individual jars: This makes it easy to grab and go.
- Layer ingredients: Add toppings like granola or fresh fruit just before eating to maintain texture.
- Label containers: Include the date to track freshness.
Freeze for Later: Best Practices
If you want to extend the shelf life, freezing is a great option. Divide your recipe into single servings and place them in freezer-safe containers. This method preserves the texture and flavor for up to a month10.
Here are some tips for freezing:
- Use airtight containers: Prevent freezer burn and maintain quality.
- Thaw overnight: Let it sit in the fridge for the best consistency.
- Add fresh toppings: Enhance flavor after thawing.
By incorporating ingredients like butter, honey, and vanilla, you can enhance the flavor even during extended storage. These additions ensure your meals remain delicious and satisfying11.
Troubleshooting Common Issues
Struggling to get the right consistency for your healthy treat? Don’t worry—this section will guide you through common problems and how to fix them. Whether your dish is too thin or clumpy, these tips will help you achieve the perfect texture every time3.
Adjusting Liquid Ratios for Desired Thickness
If your mixture is too thin, try adding more chia seeds gradually. Start with an extra tablespoon and let it sit for an hour hour minute to see if it thickens12. On the other hand, if it’s too thick, a splash of coconut milk or water can help loosen it up.
Here’s a quick guide to adjusting the ratio:
- Too thin: Add 1-2 tablespoons of chia seeds and stir well.
- Too thick: Mix in 1-2 tablespoons of liquid until desired consistency is reached.
- Clumpy: Stir vigorously every 10 minutes during the first hour hour minute to break up lumps3.
For a creamier texture, consider using full-fat coconut milk. The higher fat content enhances richness while maintaining nutritional integrity12.
Quick Fixes for Common Problems
If your dish doesn’t set properly, check the liquid-to-seed ratio. A 1:4 ratio is ideal for a pudding-like consistency3. Adding a tablespoon of nut butter, like almond or cashew, can also help thicken the mixture while adding flavor.
For a finishing touch, sprinkle fresh nut toppings or granola on top. These not only add crunch but also boost the dish’s nutritional profile13.
“A little patience and the right adjustments can turn a failed attempt into a delicious success.”
By following these tips, you’ll master the art of creating a perfectly textured treat every time. Whether it’s adjusting the mixture or experimenting with toppings, these solutions ensure a satisfying result.</p>
Mastering Chia Pudding: Pro Tips & Variations
Ready to elevate your breakfast game with creative twists? This section dives into advanced techniques to help you customize your favorite treat. From reducing clumps to balancing flavors, these tips ensure every serving is smooth and satisfying.
Exploring Flavor Variations and Enhancements
Experiment with spices like cinnamon or nutmeg to add warmth to your dish Chia Pudding. For a fruity twist, blend in fresh berries or tropical fruits like mango. These mix-ins not only boost flavor but also enhance the nutritional profile14.
Sweeteners like honey or maple syrup can be adjusted to taste. Start with a tablespoon and add more if needed. This ensures your treat is perfectly balanced for any serving size15.
Perfecting Texture and Reducing Clumps
To avoid clumps, stir your mixture thoroughly after the initial setup. Wait a few minutes, then stir again to ensure even distribution. This technique guarantees a smooth texture every time14.
For prolonged storage, store your dish in the fridge for up to 5 days. This keeps the texture intact and ensures it’s ready for any fridge day craving15.
Balancing Flavors for Every Occasion
Adjust your recipe Chia Pudding to suit different meals. For breakfast, add granola and nuts for a hearty start. For dessert, mix in cocoa powder or a dash of vanilla for a sweet finish. These tweaks make your dish versatile and enjoyable14.
Here’s a quick guide to balancing flavors:
- Breakfast: Add protein-rich toppings like nuts or seeds.
- Snack: Keep it light with fresh fruit and a drizzle of honey.
- Dessert: Indulge with chocolate chips or a dollop of whipped cream.
“The key to a great dish is experimentation. Don’t be afraid to mix and match flavors to find your perfect combination.”
With these pro tips, you can create a dish that’s uniquely yours. Whether it’s a quick breakfast or a healthy snack, the possibilities are endless.
Conclusion
This simple recipe is a game-changer for busy mornings and healthy snacking. With just a few ingredients and minimal prep time, you can create a nutritious treat that lasts all week. Its versatility allows you to customize it with your favorite toppings, like fresh berries or sliced banana, making every bowl unique16.
Meal prepping ensures your dish stays fresh and ready to grab. Store it in the fridge, and you’ll have a quick breakfast or snack at your fingertips. Add a crunchy top with granola or nuts for extra texture and flavor16.
Experiment with different combinations to find your perfect match. Whether it’s a quick breakfast or a healthy dessert, this recipe fits seamlessly into your routine. Share your creations and inspire others to try this easy, nutritious treat!